Annotations
General
Access to the annotations
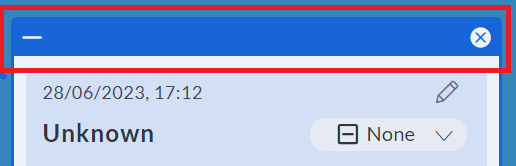
You can access the annotations directly in the top panel:

And the annotation menu appears:

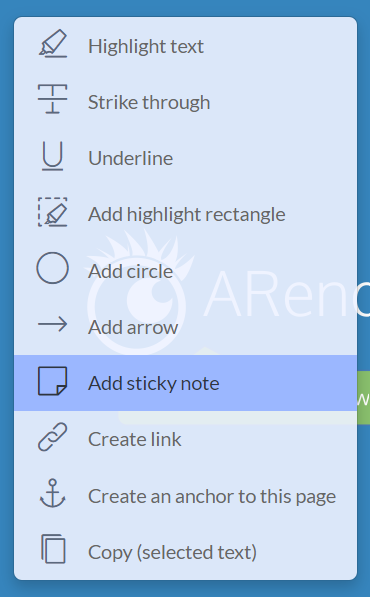
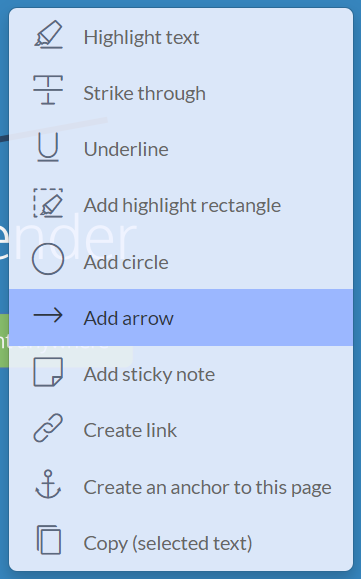
You can also access the annotations with a right-click on the document:
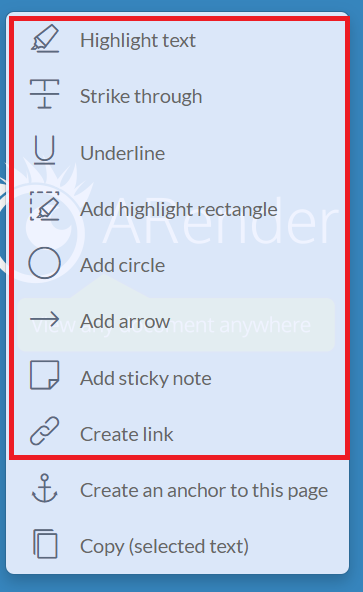
Save annotations
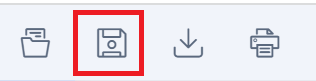
You can save your annotations by clicking on the “Save annotations” button:
Show/hide annotations
You can show or hide an annotation by clicking on the “Show/Hide annotations” button:

Sticky note
Create a sticky note
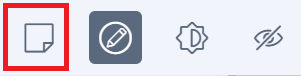
To create a sticky note, you click on the following button:
or you can right-click on the document and choose “Add sticky note” in the menu:
Then, you drag and drop your cursor on the document:
Customize a sticky note
To customize a sticky note, click on it. You are in the edit mode, the toolbar contains buttons for the sticky note modification:

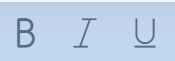
To modify your sticky note text, you can write directly in the sticky note. To put your text in bold, italic or underlined, you click on these buttons:
You can choose the font and size of your text with these two drop-down lists:

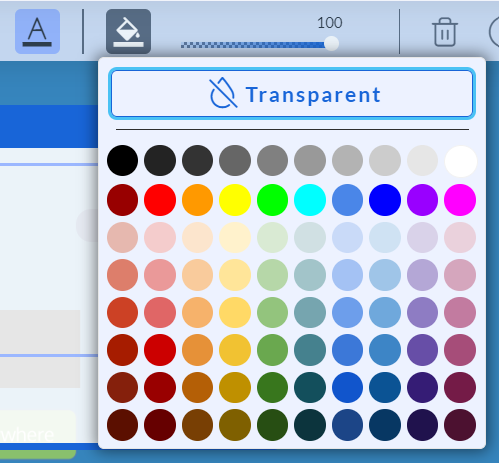
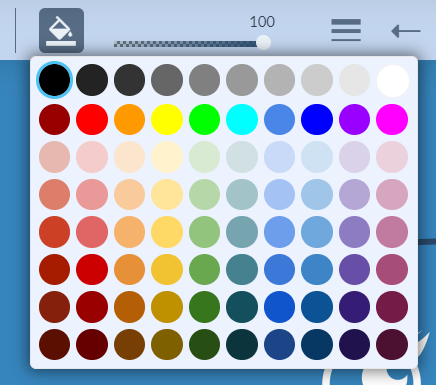
You can change the text color and the background color by clicking on these buttons:
To move your sticky note, position your cursor on the sticky note header and drag and drop the sticky note:
When your changes are done, exit edit mode by clicking on this button:

Warning: Internet Explorer 8 forces some conditions on the formatting of rich text in webpages. In order for us to have the same visual resititution in all browser an empty line under Internet Explorer 8 must be done using shift+Enter.
See details about a sticky note
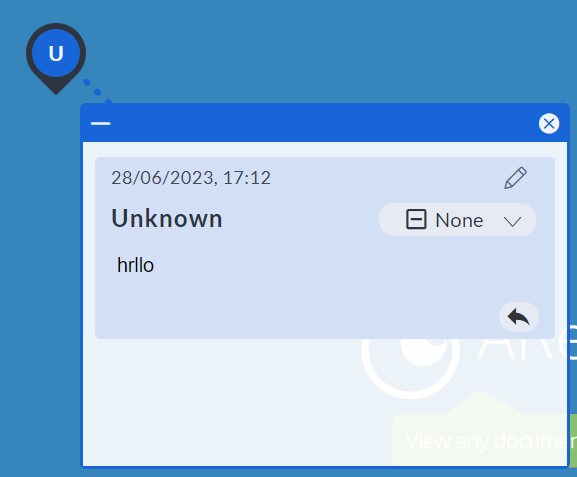
To see details about a sticky note, you click on it. Your are in the edit mode. In the toolbar, you click on the “Details” button:

Annotation details appear in a pop-in:
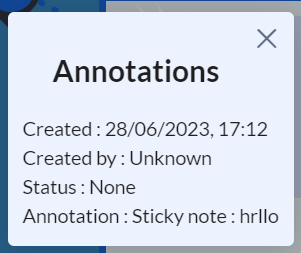
To exit the pop-in, click anywhere in the document.
Remove a sticky note
To remove a sticky note, click on it to access the edit mode. In the toolbar you click on the “Remove annotation” button:

Highlight rectangle
Create an highlight rectangle
To create an highlight rectangle, click on the following button:

or you can right-click on the document en choose “Add sticky note” in the menu:

then, you drag and drop your cursor on the area you wish to highlight:

Customize an highlight rectangle
To customize an highlight rectangle, click on it. You are in the edit mode, the toolbar contains buttons for the rectangle modification:

With the toolbar, you can:
- change the rectangle opacity (more information about sliders here)
- change the background color
- see the details about the rectangle
- remove the rectangle
- stop the rectangle edition
You can also move your rectangle: position your cursor on the rectangle and drag and drop it.
Remove an highlight rectangle
To remove an highlight rectangle, click on it to access the edit mode. In the toolbar you click on the “Remove annotation” button:

Arrow
Create an arrow
To create an arrow, click on the “Add arrow” button:

or you can right-click on the document and choose “Add arrow” in the menu:
Customize an arrow
- Change arrow background color
You can change the arrow background color by clicking on the “Background color” button:

- Change arrow opacity
You can change arrow opacity by clicking on the cursor button:

- Change arrow size
You can change the arrow size by clicking on these buttons:

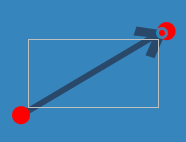
- Change arrow direction
The arrow direction can be changed by clicking on one of its ends (A red circle appears at the tip of the arrow and at its base).
See details about the arrow
To see details about the arrow, click on it. In the toolbar, click on the “Details” button: